InviteBatch team
In this guide
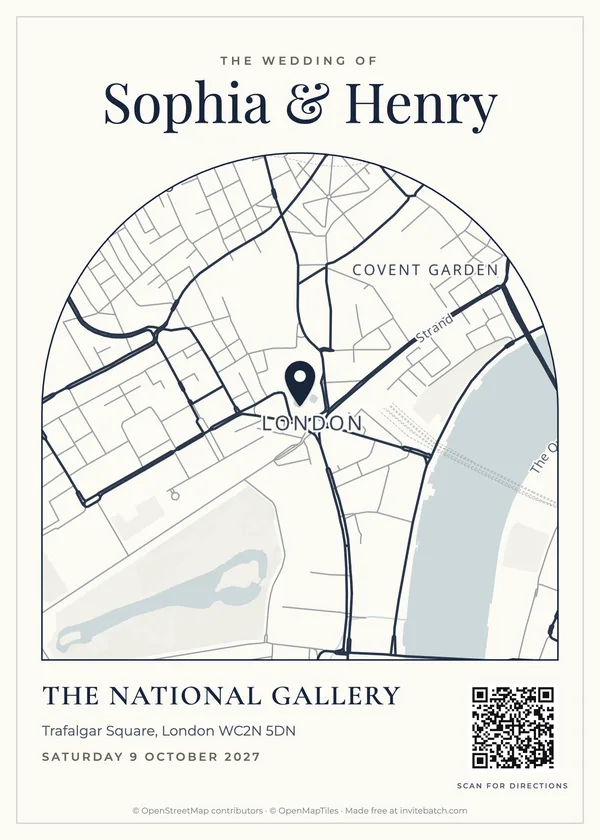
The short answer: make a map card the same size as your invitation (5x7) or slightly smaller (4x6), show the venue name, full address and enough of the surrounding area to recognise, add a QR code that opens directions, and print it at 300 dpi on the same cardstock as your invitations. You can make one free in about two minutes with our wedding invitation map maker.
When your invitations need a map
A map is worth adding when at least one of these is true:
- Many guests are traveling and don't know the area.
- The venue is rural (a barn, vineyard, country house or estate) and GPS gets people close but not to the gate.
- The ceremony and reception are in different places.
- The venue has a tricky entrance, a shared driveway or parking that isn't obvious.
For a well-known city venue, the address plus a QR code for directions is usually enough. A map card is then a nice extra, not a necessity.
Three places to put the map
| Option | Size | Best for |
|---|---|---|
| Insert card | 5x7 (same as the invitation) | Most weddings. Sits behind the invitation. |
| Details card | 4x6 | When the map shares space with hotel or parking notes. Sits in front of the invitation. |
| Back of the invitation | 5x7 | Saving a card and postage weight. Needs double-sided printing. |
Stack the suite from largest to smallest, face up: invitation at the back, then the map or details card, then the RSVP card on top.
What to put on a wedding map
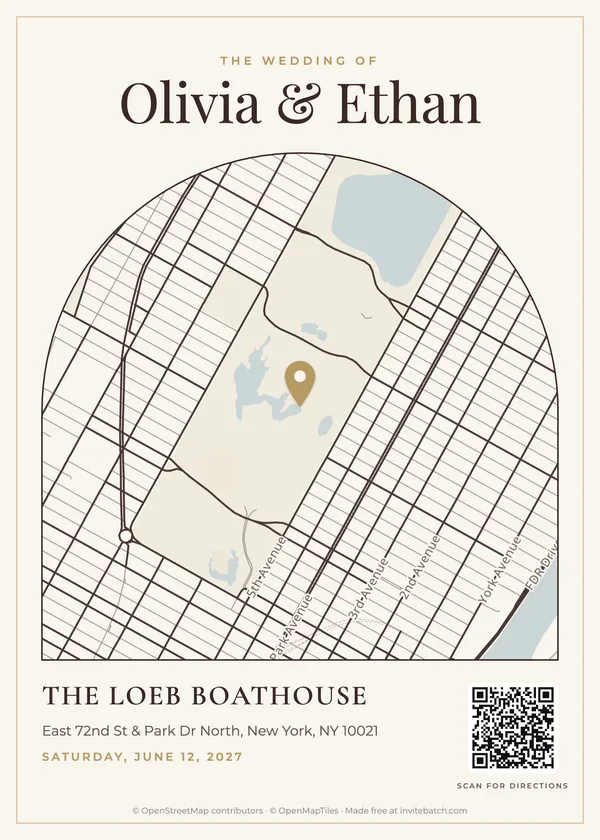
- The venue name, exactly as it appears on the sign at the entrance. Guests look for the sign, not the house number.
- The full address with ZIP or postcode. Some guests will still type it into their phone.
- Enough of the area to orient people: about ½–1 mile around a city venue, 3–10 miles around a country venue so the nearest town and main road are visible.
- A QR code for directions. It opens Google Maps with the route, so nobody has to type anything. See how to add a QR code to wedding invitations.
- Your names and the date at the top, so the card makes sense on its own when it's stuck to a fridge.
Skip turn-by-turn written directions on the card. They take a lot of space and every guest's phone does it better.
How to make the map (free, 2 minutes)
- Open the wedding invitation map maker and search for your venue.
- Choose how much area to show: ½ mile for a city venue, 3–10 miles for the countryside.
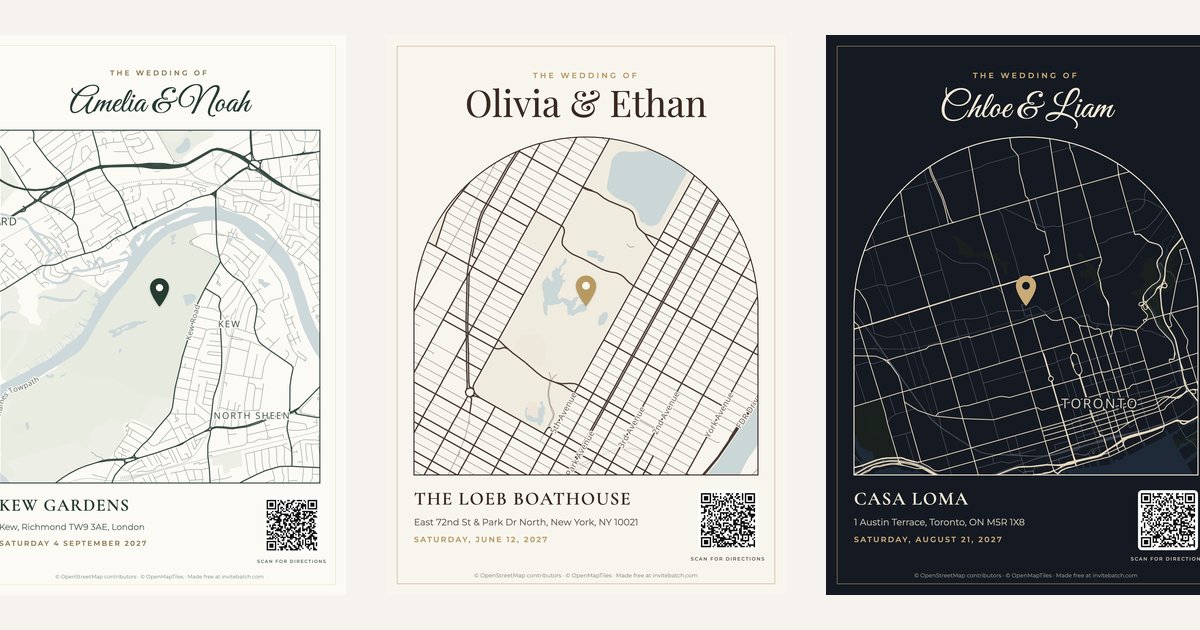
- Pick a style that matches your invitation colors: old money, European luxury, feminine luxury, modern luxury, romantic estate or midnight.
- Add your names, date, venue name and address. Leave the QR code on.
- Choose 5x7, 4x6 or square, and download the PNG (or the PDF for a print shop).
The 5x7 card downloads at 1500 × 2100 pixels, which is 300 dpi: the resolution print shops ask for.
Matching the map to your invitation
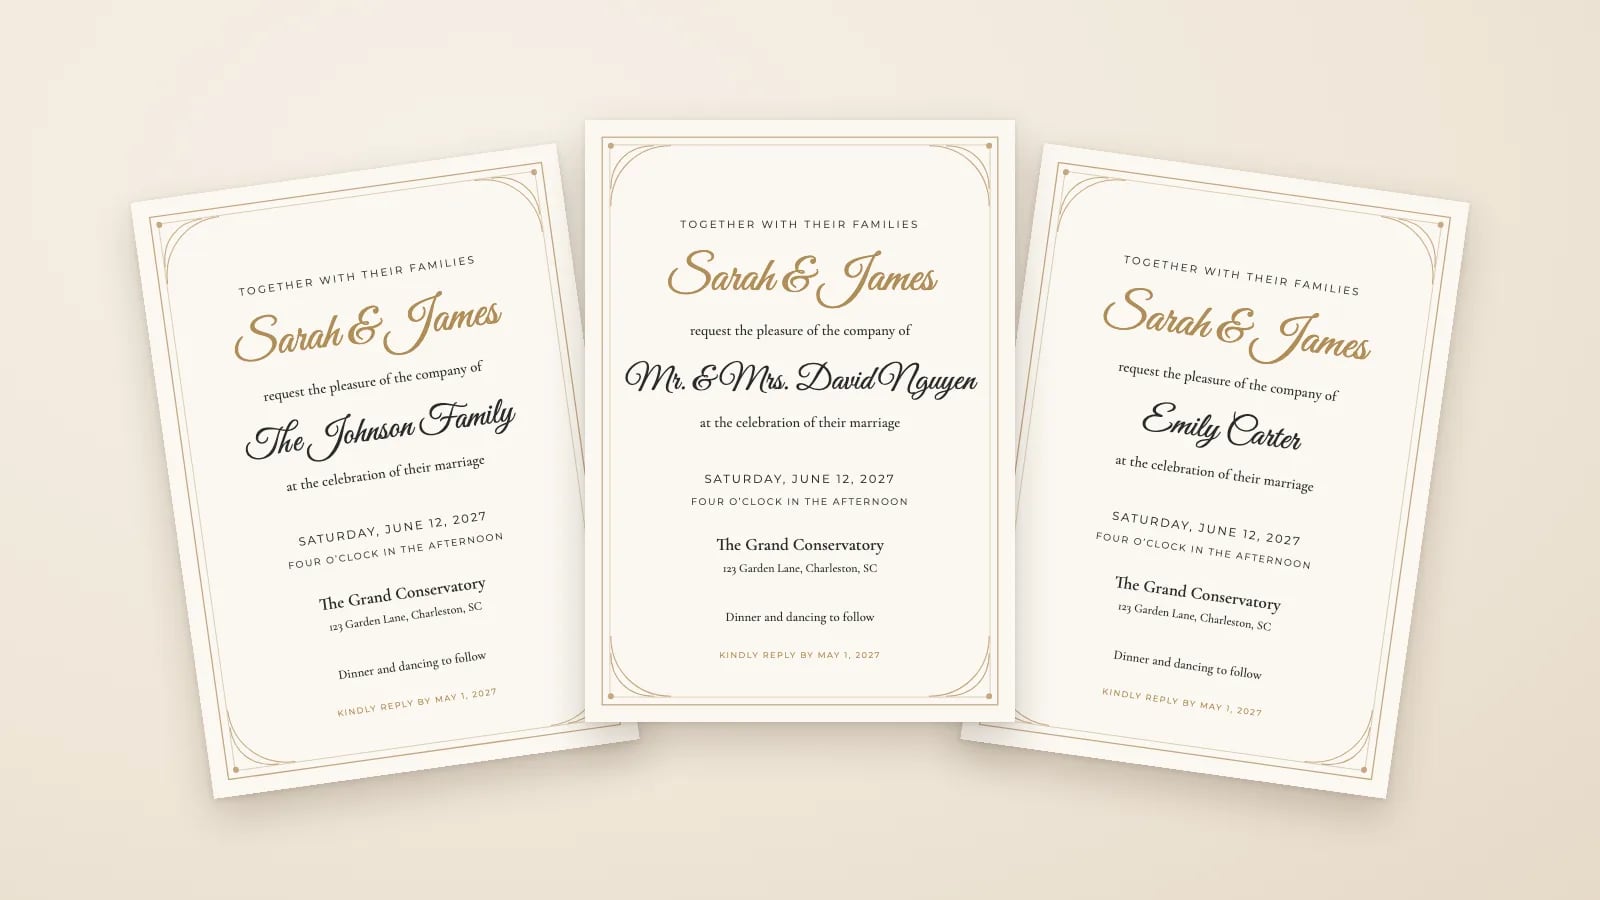
A map looks best when it uses the same paper color, the same accent color and the same script font as the invitation. Pick the style closest to your invitation's colors. If you create your invitations with InviteBatch, the map card is part of your suite and uses your invitation's own colors and fonts automatically, next to RSVP cards with QR codes, envelopes and thank-you cards.
Printing tips
- Print at 100% / actual size, not "fit to page".
- Use matte cardstock, 80–110 lb cover (216–300 gsm): street names stay readable and the QR code scans well.
- Print one test card and scan the QR code with your own phone before printing the full batch.
- Two 5x7 cards fit on one landscape US Letter or A4 sheet. See how to print wedding invitations at home.
Send it to the guests who need it
You don't have to mail the map to everyone. Local guests and close family often don't need one. Many couples print maps only for out-of-town guests and add the square version to their wedding website for everyone else.